

DHCP-GUI configures and monitors the Kea DHCPv4 server through a graphical interface on SysLinuxOS 13, Debian 13 and compatible systems. This guide follows every panel and confirmation window from installation to lease monitoring. The addresses in the screenshots are examples: use values from your own network and check that no other DHCP server is already serving the segment.
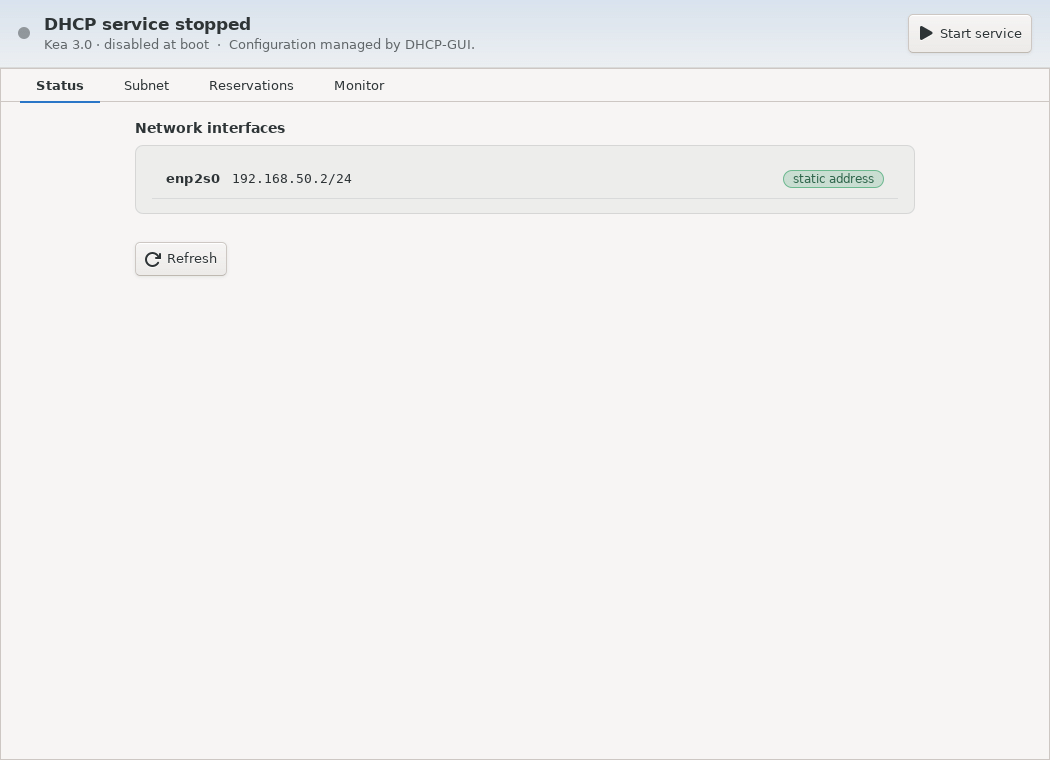
1. Install DHCP-GUI
Add the SysLinuxOS-Tools APT repository and install the package:
sudo apt update
sudo apt install dhcp-gui
Alternatively, download the 0.1.3 Debian package and install it from the download directory:
sudo apt install ./dhcp-gui_0.1.3_all.deb
Open Dhcp-GUI from the SysLinuxOS Tools menu or run dhcp-gui. The package also installs Kea, GTK and polkit. Status shows the Kea version, service state, startup setting, network interfaces and their addresses. Use Refresh after network changes.
2. Check the network and unlock configuration
Choose an interface with a stable IPv4 address. The window flags an address obtained through DHCP as unsuitable for a server. Keep the server and gateway outside the address pool. If another DHCP server already serves this network, resolve that conflict before starting Kea.
Click Unlock configuration and authorize the administrative read when polkit prompts you. Status remains visible without a password; each change needs authorization. Unsupported or externally modified Kea configurations are read-only. If the configuration contains multiple subnets, DHCP-GUI displays only the first and disables editing to protect the others.
3. Fill in the Subnet panel
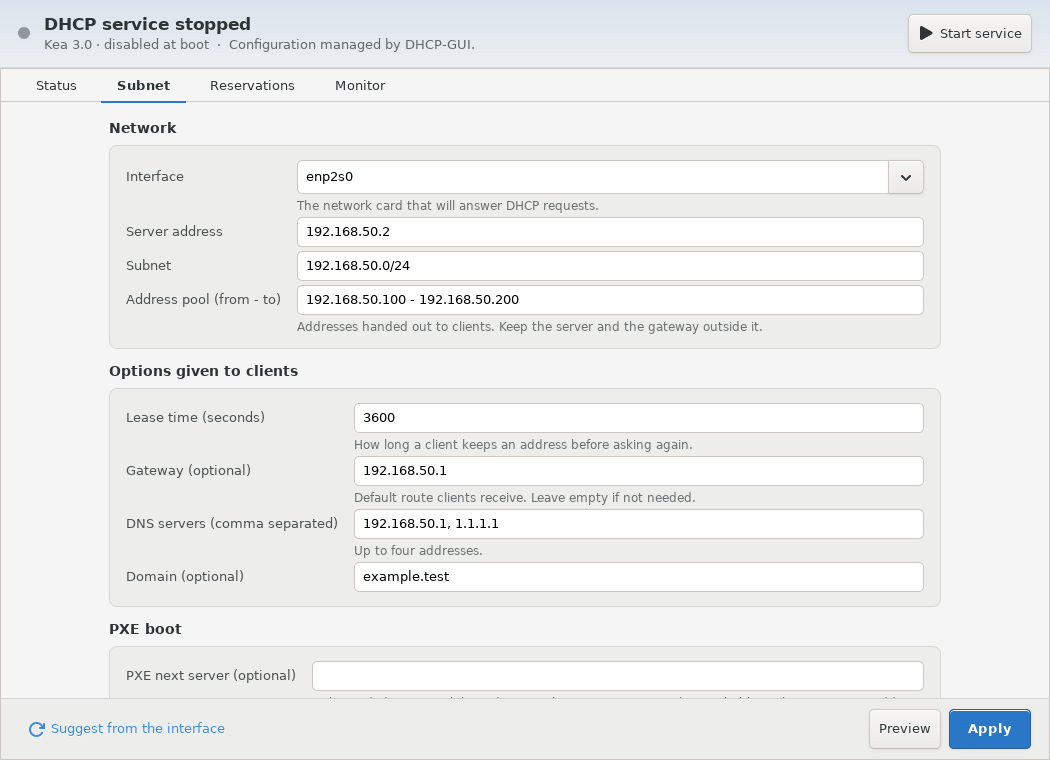
Open Subnet. Under Network, select the interface that will answer DHCP requests. Suggest from the interface proposes a server address, subnet and pool based on that interface. Review every suggestion against your actual network plan.
Enter the Server address (for example 192.168.50.2), Subnet in CIDR form (192.168.50.0/24), and Address pool as “start – end” (192.168.50.100 – 192.168.50.200). The pool must be inside the subnet. Keep server, gateway and fixed addresses outside the dynamic range.
Under Options given to clients, set the Lease time in seconds, an optional Gateway, up to four comma-separated DNS servers, and an optional Domain. The screenshot uses a 3600-second lease. Leave optional fields blank when they do not apply.
4. Configure PXE and the lease list
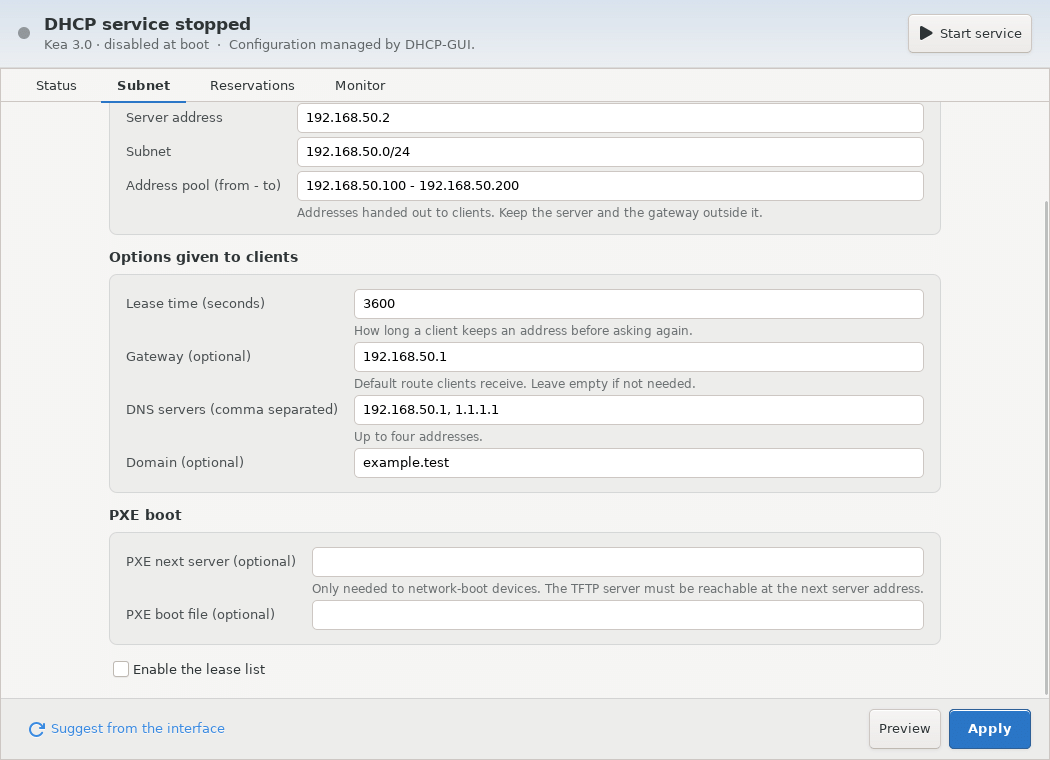
Scroll down to PXE boot. Set PXE next server and PXE boot file only for network boot clients. A TFTP server must be reachable at the next-server address; see the Tftpd-GUI guide for that service.
Select Enable the lease list before applying the configuration if you want client entries in Monitor. Without it, pool usage can still appear, but the lease list is unavailable.
5. Add reservations
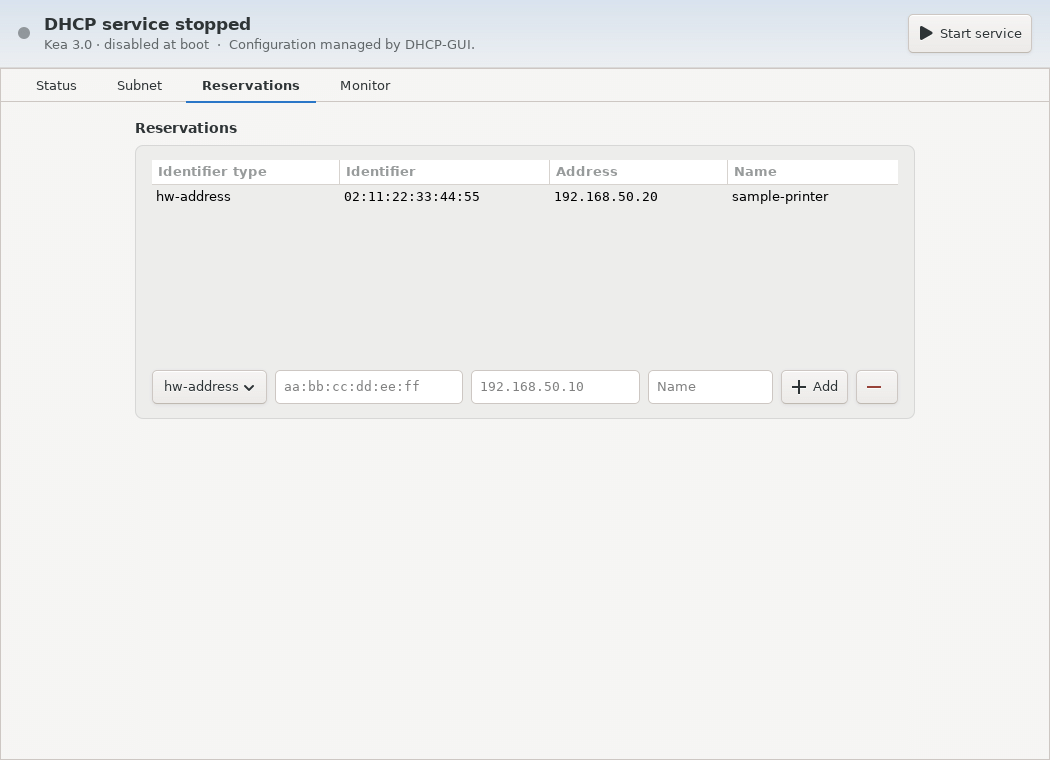
Open Reservations. Select hw-address for a MAC address or client-id for the DHCP client identifier. Enter the identifier, reserved IPv4 address and optional name, then click Add. Repeat as needed. To remove one, select its row and click the minus button. Use an address in the subnet but outside the dynamic pool, and avoid duplicate identifiers or addresses. Reservations take effect after Apply.
6. Review the Preview window
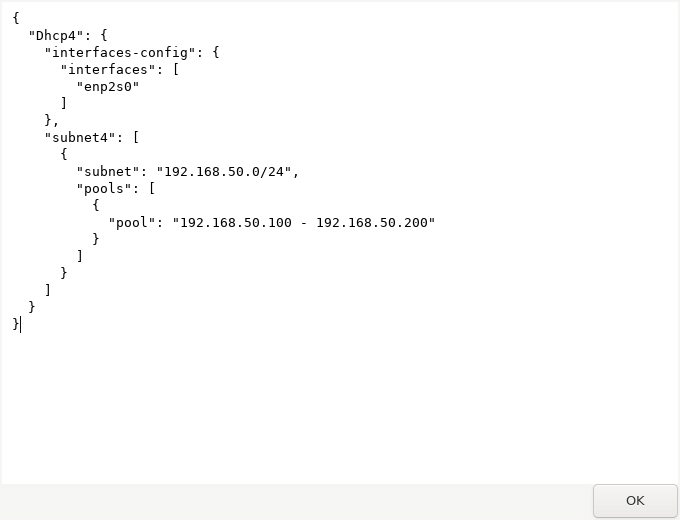
Return to Subnet and click Preview. Review the generated Kea JSON: interface, subnet, pool, client options, PXE values and reservations. Close it with OK. An invalid value is highlighted and explained before the preview opens.
7. Apply and confirm the restart
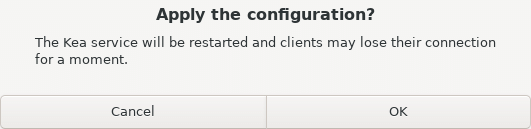
Click Apply. The confirmation warns that Kea will restart and clients may briefly lose connectivity. Confirm only after checking the interface and pool. If a supported custom Kea configuration is being adopted, an additional warning appears; its original file remains untouched. DHCP-GUI asks Kea to validate the configuration and attempts to restore the previous one if applying fails. Read the result and refresh Status.
8. Start the DHCP service
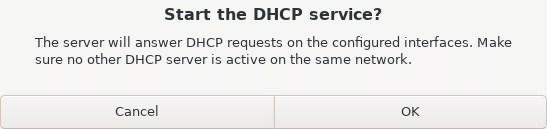
When the managed configuration is ready, click Start service in the top bar. The confirmation reminds you that Kea will answer DHCP requests on the configured interfaces. Confirm only after checking that another server is not active on the same network. Return to Status and check that Kea is running.
9. Read Monitor
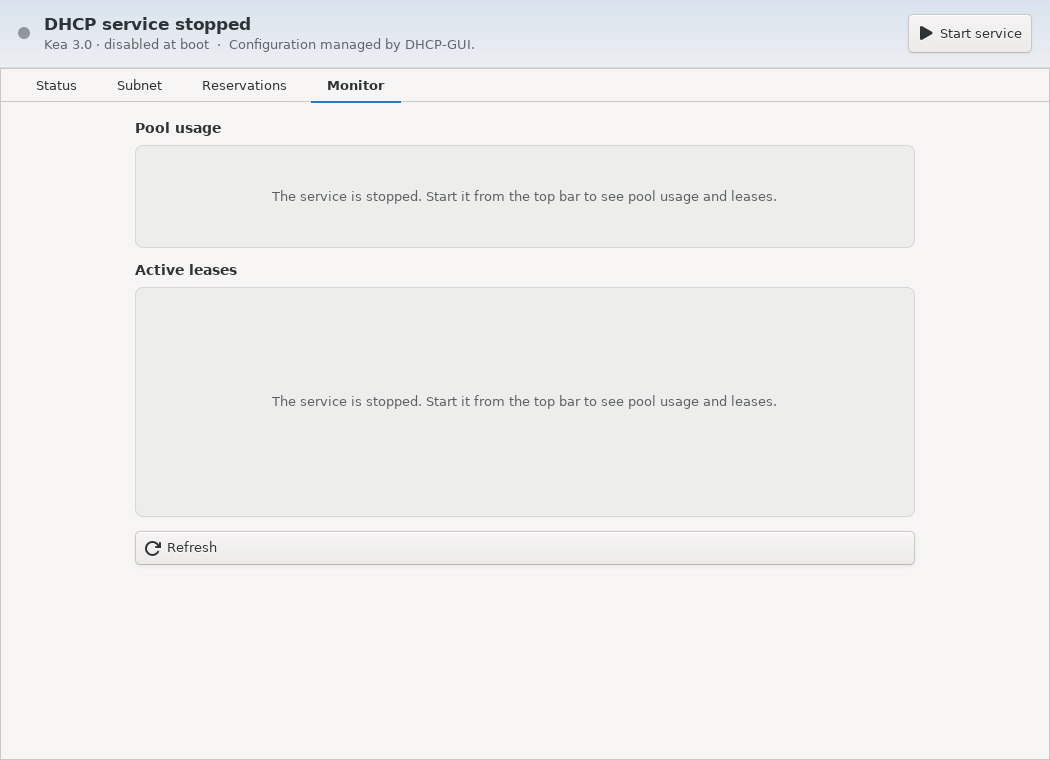
Open Monitor and click Refresh. Pool usage shows assigned addresses, capacity and percentage per subnet. Active leases lists client address, identifier and name when the lease-list option was enabled. An empty list is normal before clients request addresses. The LAN Discovery guide can help identify devices on the LAN.
10. Stop the service and handle read-only configurations
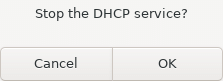
Click Stop service and confirm to stop DHCP replies. Check the state in the top bar afterwards. If an imported configuration uses options the app cannot manage, or contains multiple subnets, guided editing remains disabled: use suitable Kea configuration tools. DHCP-GUI manages DHCPv4; DHCPv6, relay, high availability, dynamic DNS and external database back ends are outside its scope.
Downloads and source code
Packages, releases and source code are in the DHCP-GUI repository. Use the SysLinuxOS-Tools APT repository for installation and updates.
The Italian version of this guide will be linked here after publication.
DHCP-GUI: configure Kea step by step