
Installing Zabbix on SysLinuxOS and Debian 11
Zabbix is an open-source network and server monitoring system that allows you to keep track of the availability, performance, and status of network devices, servers, and applications. Zabbix is capable of collecting data from various types of devices, such as servers, switches, routers, firewalls, sensors, and applications, and analyzing them to identify any problems or anomalies. Additionally, it allows you to define alarm thresholds and notify system administrators of any issues through various channels, such as email, SMS, instant messaging, etc. Zabbix is highly flexible and customizable, thanks to its modular architecture and support for numerous extensions and plugins. Moreover, it offers a wide range of advanced features, such as graphical data visualization, report generation, management of distributed agents, event tracking, configuration management, etc. Zabbix is a reliable and scalable solution that can meet the monitoring needs of any type of infrastructure, from small to large enterprises.
Here are the steps to install Zabbix on SysLinuxOS and Debian 11 with MariaDB and Apache2:
Step 1 – Update the system:
$ sudo apt update$ sudo apt upgrade
Step 2 – Download Zabbix version from the website:
$ wget https://repo.zabbix.com/zabbix/6.2/debian/pool/main/z/zabbix-release/zabbix-release_6.2-4%2Bdebian11_all.deb$ sudo dpkg -i zabbix-release_6.2-4+debian11_all.deb$ sudo apt update
Install necessary packages:
$ sudo apt install zabbix-server-mysql zabbix-frontend-php zabbix-apache-conf zabbix-sql-scripts zabbix-agent
Step 3 – Install Mariadb and Apache2:
sudo apt install mariadb-server mariadb-client
Configure the MariaDB database:
sudo mysql_secure_installation
Follow the instructions to configure the MariaDB server. Create a new user and a new database:
sudo mysql -u root -p
CREATE DATABASE zabbixdb CHARACTER SET UTF8 COLLATE UTF8_BIN;CREATE USER 'zabbixuser'@'localhost' IDENTIFIED BY 'STRONG_PASSWORD';GRANT ALL PRIVILEGES ON zabbixdb.* TO 'zabbixuser'@'localhost';FLUSH PRIVILEGES;exit;
Step 4 – Configure the Zabbix server:
sudo nano /etc/zabbix/zabbix_server.conf
Verify and update the following parameters:
DBName=zabbixdbDBUser=zabbixuserDBPassword=STRONG_PASSWORD
Save and close the file.
Import the database schema:
sudo zcat /usr/share/doc/zabbix-server-mysql/create.sql.gz | sudo mysql -u zabbixuser -p zabbixdb
Enter the password created above.
Step 5 – Configure Apache2:
sudo nano /etc/apache2/conf-available/zabbix.conf
Optionally modify the following lines:
php_value max_execution_time 300php_value memory_limit 512Mphp_value post_max_size 32Mphp_value upload_max_filesize 256Mphp_value max_input_time 300php_value date.timezone Europe/Rome
Activate the Apache2 module:
sudo a2enconf zabbix.conf
Restart Apache2 and Zabbix server:
sudo systemctl restart apache2sudo systemctl restart zabbix-serversudo systemctl enable zabbix-server zabbix-agent apache2
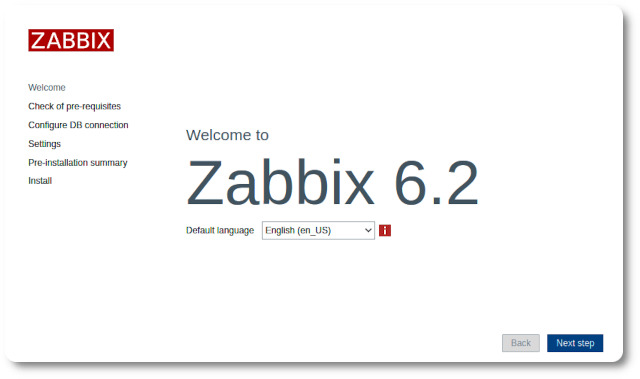
Step 6 – Access Zabbix web page:
http://<your_server_ip_address>/zabbix
Follow the instructions to complete the installation.
Installing Zabbix on SysLinuxOS and Debian 11
enjoy 😉